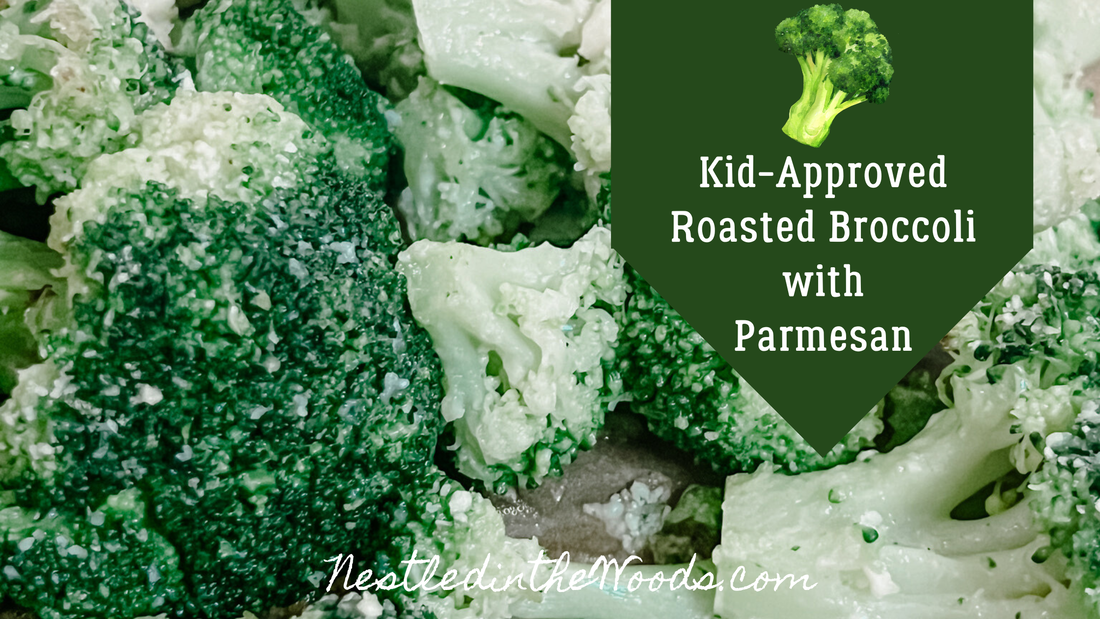
 If you struggle to get your kids to eat their veggies, you're not alone. But fear not, because this kid-approved roasted broccoli with Parmesan might be the game-changer you're looking for. Crispy, cheesy, and full of flavor, this recipe transforms the humble broccoli into a snack your kids will repeatedly ask for.
This recipe serves 4 people generously. Ingredients 1 pound frozen broccoli florets 2 tablespoons avocado oil Kosher salt, to taste Dash of granulated garlic 2 tablespoons shredded Parmesan cheese (more or less to taste) Directions Preheat the Oven: Preheat your oven to 425°F. This high temperature is the key to achieving a crispy texture. Prepare the Broccoli: Spread the frozen broccoli florets on a baking sheet. There is no need to thaw them; roasting from frozen will help them stay crisp. Season the Broccoli: Drizzle the avocado oil over the broccoli florets. Sprinkle with kosher salt, granulated garlic, and the shredded parmesan. Toss to coat the broccoli with the oil and seasonings. Roast the Broccoli: Roast in the oven for 20-25 minutes, or until the edges are crispy, and browned and the stems are tender. Stir halfway through the cooking time to ensure even roasting. Serve and Enjoy: Let the broccoli cool slightly before serving. The florets will be crisp and cheesy, perfect for little fingers to pick up and enjoy. Tips for Success
Why My Kids Love It
Serving Suggestions Serve this roasted broccoli alongside your kids' favorite meals. It pairs wonderfully with almond flour chicken tenders, Instant Pot Mac and Cheese, Instant Pot Curry Chicken, or as a healthy pizza topping. This versatile dish makes incorporating veggies into meals easy and more enjoyable. 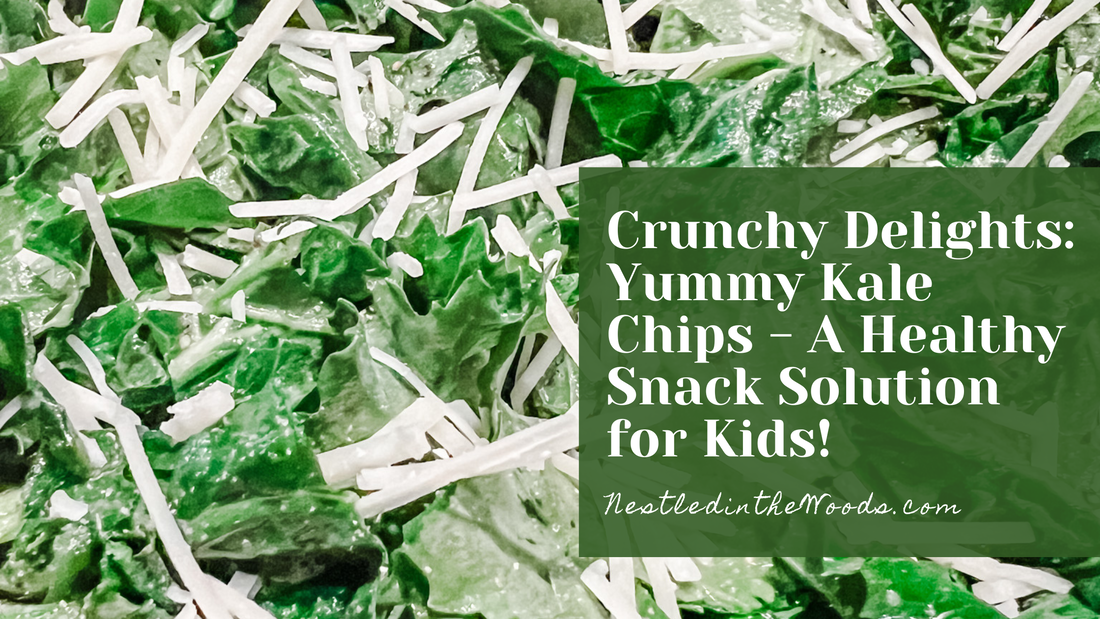 Welcome to our tasty journey of wholesome snacking! Kicking those sugary temptations to the curb and searching for options kids enjoy can be challenging. Fear not because I have a delicious solution: Yummy Kale Chips! These crispy, flavorful treats are kid-approved and pack a powerful punch of nutrients. Say goodbye to guilt-ridden munching and hello to guilt-free indulgence! Let's dive into the crunchy goodness and explore how these irresistible kale chips can revolutionize snack time for your little ones.
Ingredients: 1 bunch of kale Olive oil Lemon pepper Paprika Lemon Shredded Parmigiano Reggiano Optional Sea Salt Lemon (for added flavor) Instructions: 1. Preheat your oven to 350 degrees F. Line a cookie sheet with parchment paper. 2. Carefully remove the leaves from the thick stems of the kale using a knife or kitchen shears. Tear the leaves into bite-size pieces. 3. Wash the kale thoroughly and dry it well using a salad spinner. 4. Drizzle the kale with olive oil and sprinkle with salt and your preferred seasoning. 5. Optional: For added flavor and to reduce bitterness, squeeze some lemon juice over the kale and add any additional seasoning you desire such as shredded cheese. 6. Spread the seasoned kale out on the prepared cookie sheet in a single layer. 7. Bake in the preheated oven until the edges of the kale start to brown, about 10 to 15 minutes. Be sure to keep an eye on them every 5 minutes to prevent burning. 8. Once done, remove from the oven and let them cool slightly. 9. Enjoy your delicious and healthy kale chips as a guilt-free snack! 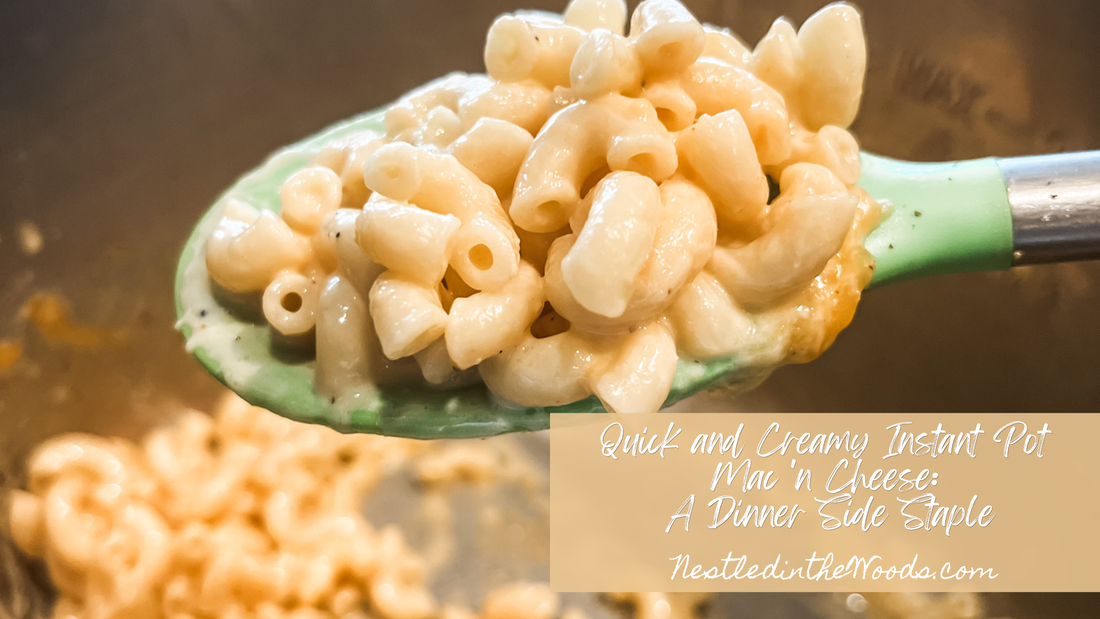 Are you looking for a side dish that's quick and irresistibly delicious? Look no further than this Instant Pot Mac 'n Cheese recipe! With just a handful of ingredients, you can whip up a creamy and comforting dish that will please even the pickiest of eaters in just 4 minutes!
Ingredients: 1 pound elbow or shell pasta Water (enough to cover the pasta) 1 cup milk 2 cups sharp cheddar cheese, shredded Salt and pepper to taste Optional: dry mustard, paprika, garlic powder, cooked ground beef Instructions:
Tips:
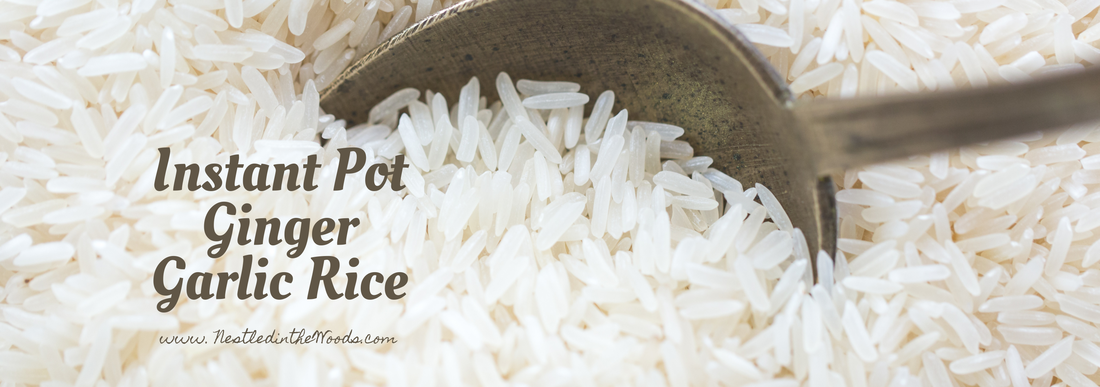 This fragrant, flavorful rice goes with so many main dishes - beef, poultry, pork, or fish. Serve alongside roasted vegetables and homemade sourdough bread to make an inviting, pleasant dinner.
2 cups organic basmati rice 2 tsp toasted sesame oil 3 Tbsp grated fresh ginger 3 cloves garlic finely minced 1/2 tsp kosher salt 2 cups organic chicken broth 1 tsp dried parsley Instructions 1. Rinse rice. 2. Get the Instant Pot ready by selecting “sauté” and set it to “low”. 3. Add sesame oil, then add ginger and garlic, stir often, about 1 minute. 4. Add the rice to the pot and stir. Cook, stirring occasionally, for about a minute. Stir in salt. 5. Cancel the “sauté” function. 6. Add chicken broth, don’t stir. 7. Place the lid on the IP and set it to sealing. Select “pressure cook” or manual high pressure, and set the timer to 3 minutes. 8. Once it is finished let the IP do a nature pressure release for 10 minutes, and then release remaining pressure. 9. Open the lid once the pin drops. 10. Add parsley, serve and enjoy.  We are heading to my parents' house for dinner on Christmas night. The menu and shopping list are made and thank goodness I have the easy meals to prepare this year! The menu typically does not change a whole lot each year. My dad prepares the prime rib roast, mom handles the gravy and green beans, my sister brings the salad and desserts, and I prepare the mashed potatoes. This year was a little different because I usually buy the store bought frozen dinner yeast rolls, but I wanted to make homemade yeast rolls for the first time and also incorporate my oldest child into the fun for a little home economics lesson. This past week we learned about our senses and how different things feel, smell, and touch. So what better way to incorporate all of our senses than to make homemade yeast rolls which were already needed for our Christmas dinner. We made the dough together once we got all of the ingredients out and measured each. She helped knead the dough as well. It rolled so many activities into one, science, motor skills, and sensory to name a few. She has always said she's the baker, I'm the mixer and daddy is the fixer. I highly recommend making this with your children and as a little added tip - clean up as you go! Here are some of the learning activities involved in this activity:
If you make this recipe a head of time and your dough balls are frozen, simply pull them out the day of and they will thaw and rise while the last minute stuff gets done. 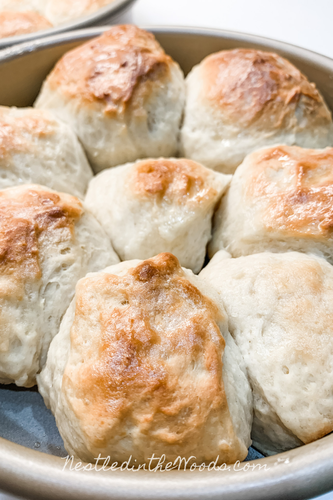 Ingredients:
1 cup boiling water 2 TBSP oil (avocado or canola) 1/4 cup of unsalted butter plus melted butter or brushing the tops of rolls before baking 3 TBSP granulated sugar 1 package active dry yeast (not instant or rapid rise) 1 large egg, beaten 1 tsp kosher salt 3 1/2 cups all-purpose flour Directions:
|
WElcome!I am a homemaker and Home Educator of our four children at Soaring Pine Private Academy. Gratitude fills my heart for each day that God blesses me with my sweet family. I invite you to explore my blog, where I share our homeschooling adventures from our home nestled in the woods, along with delightful recipes and more!
Archives
May 2024
Categories
All
|
 RSS Feed